

ROUVY can be considered one of the leading virtual training platforms, offering something distinctly different from competitors such as TrainingPeaks Virtual and MyWhoosh: the ability to train using real-world video footage of roads and routes from around the globe.
Personally, I have a genuine affinity for ROUVY because it reminds me of where indoor cycling began for me. Long before smart trainers became mainstream, I used a Tacx i-Flow trainer, which allowed me to connect my bike’s rear wheel to the trainer. I also purchased Tacx’s add-on system, the Cosmos, which enabled me to train using Tacx’s real-life video routes.
That is why using ROUVY today brings back memories of those early days of indoor training. There is something quite nostalgic about seeing how far the technology has evolved—from riding a bike on a basic turbo trainer while watching video footage, to today’s immersive platforms that can replicate real-world roads and routes with remarkable accuracy.
In many ways, ROUVY feels like a modern evolution of something I was fascinated by years ago, and it is remarkable to look back and see just how far indoor cycling has come.
I therefore reached out to ROUVY to find out more about how its real-world routes are recorded, processed and uploaded to the platform for riders around the world to enjoy. Vojtěch Hudček, ROUVY’s Routes Project Manager, kindly answered my questions, providing a fascinating insight into what goes on behind the scenes to bring these routes to life.
Choosing the Route
How does a road or route go from an idea on a map to becoming a potential ROUVY route?
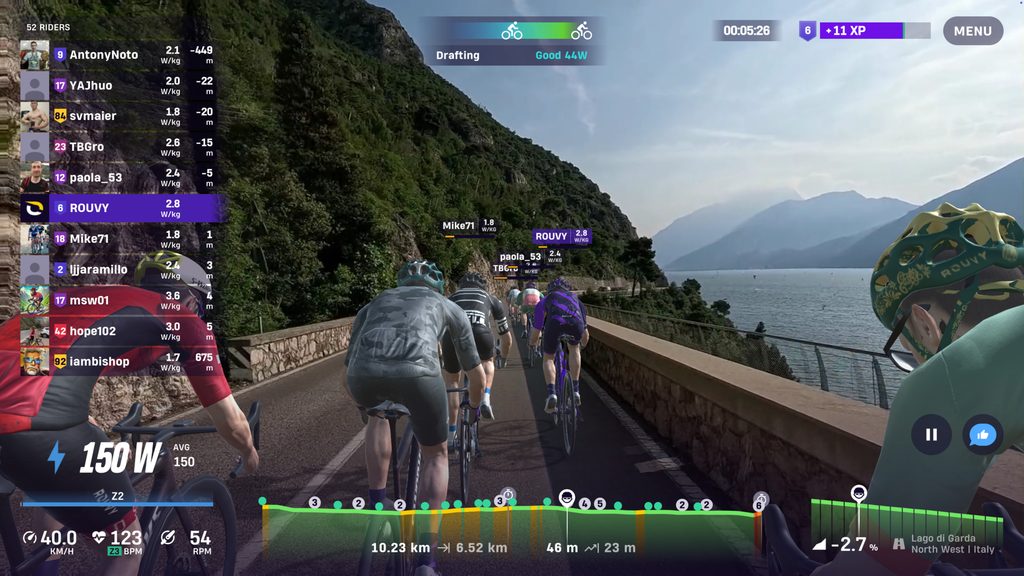
It usually starts with the experience we want to bring to our users. We look at destinations that are visually attractive, interesting from a cycling perspective, or have a strong connection to the sport. That could be an iconic climb, a famous race location, a beautiful coastal road, or simply a place that offers a great riding experience. From there, we look at the actual road network and start building a route that makes sense as a ride. We consider the distance, elevation profile, road conditions, logistics and, importantly, whether the route will translate well into an indoor cycling experience.
What makes a route worth filming for ROUVY? What are you looking for in terms of scenery, cycling history, difficulty, iconic climbs, or the overall experience?
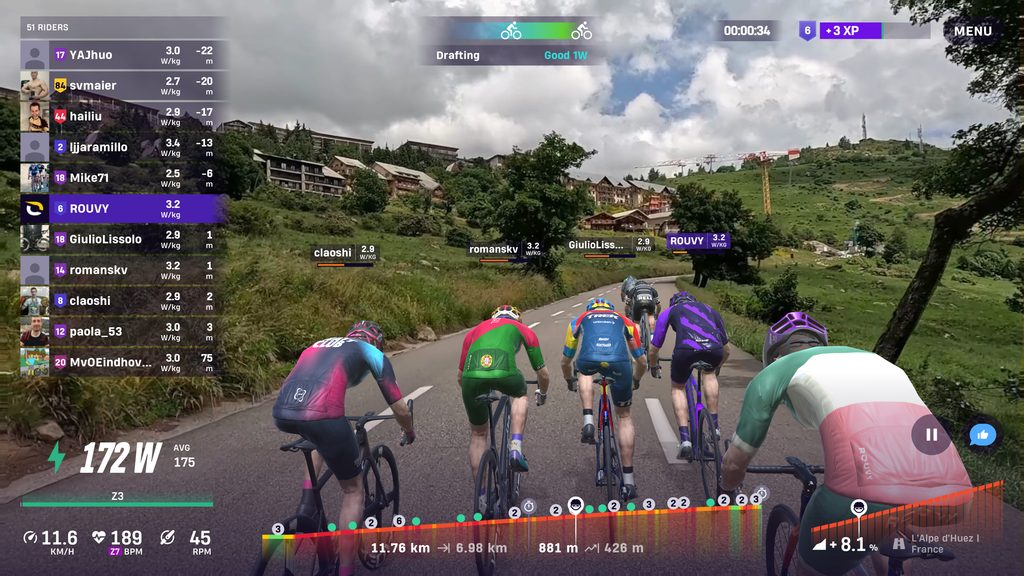
There isn’t one single answer to this. The best routes usually combine several aspects: beautiful scenery, interesting terrain and a sense of destination. Cycling heritage is obviously important. Famous climbs and roads associated with major races are attractive because riders already have an emotional connection to them. But we don’t want the library to consist only of legendary climbs. Sometimes a relatively unknown road can make an amazing ROUVY route because of the landscape, the way the road flows, or the variety it offers. Ultimately, we ask ourselves: Would you want to spend an hour riding here?
How do you scout and prepare a route before the filming crew arrives?
A lot happens before we press the record button. We study the proposed route using maps, satellite imagery and available road information. We look for potential problems such as restricted roads, tunnels, construction, poor surfaces, heavy traffic or sections that could be difficult to film consistently.
Then there is the practical side: where to start and finish, where the crew can safely stop, what time of day provides the best conditions and how weather or traffic might affect the shoot.
Whenever possible, local knowledge is extremely valuable. A route can look perfect on a map but be very different when you actually arrive there.
How do you decide which countries, regions or cycling destinations to focus on when expanding the ROUVY route library?
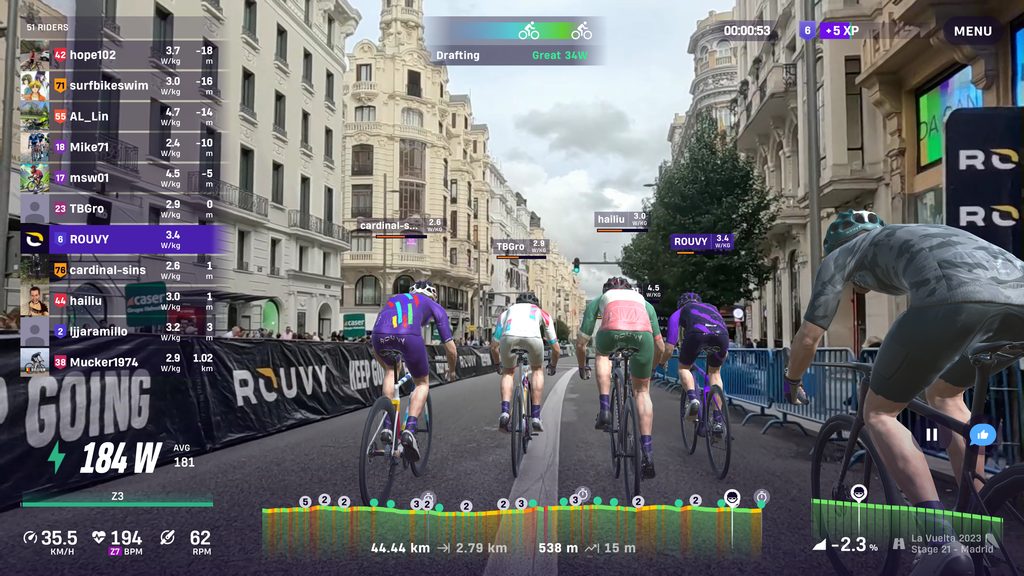
It’s a combination of users’ demand, cycling relevance, geographical diversity, partnerships and the opportunities available to us. We want users to have both the destinations they already dream about and places they might never have considered riding. That means balancing famous cycling regions with new destinations and gradually making the ROUVY world more diverse. Partnerships with races, tourism organizations and cycling destinations can also create opportunities to bring particularly interesting roads and events onto ROUVY.
Filming the Route
What does a typical filming day look like, from arriving at the start of the route to finishing the shoot?
Firstly, we need to make sure that all the equipment we use is ready to roll, all the batteries are charged up and weather is great for filming. Then we also need to consider light conditions and traffic – this usually defines the ideal time to film the route. After filming is done in the evening, we always check the footage, evaluating, rating it and considering whether re-filming is necessary. If the footage is good, we’re good to go.
What equipment do you use to capture the footage, and why did you choose that particular setup?
For all the routes we film, we use GoPro cameras, the newest models. We use GoPro cameras simply because our software was built and developed on GoPro output video files. The GoPro cameras also produce high-quality video files, they have great stabilization features so the video looks very smooth in the end in the ROUVY app. One more very important feature we currently use is the GPS function inside the cameras. This provides us with telemetry information embedded in the videos making the whole digitization process easier and the route elevation profile accurate. For the GPS back-up, we also use secondary GPS devices such as trackers or bike computers.
Where is the camera mounted, and how important is camera position to creating a realistic riding experience?
Camera position is extremely important because the final result has to feel natural when somebody is riding the route indoors. If the horizon is too high, too low or poorly positioned relative to the road, the virtual experience can feel more like watching a driving video than riding a bicycle. Some parameters to consider; we aim to position the camera 150 cm from the ground which more or less represents the eye-level of the cyclist; horizon is extremely important – it decides about the overall look/feel of the route. The vanishing point should be exactly in the middle of the video picture. One more rule that we apply is the so-called 50:50 ratio which means that we aim to have 50% of the route and 50% of the sky in the video picture.
Are you filming from a bicycle, car, or another vehicle—and how do you determine the filming speed?
The filming method can depend on the route and local conditions. Whatever vehicle is used, the important thing is to capture the road smoothly and consistently while remaining safe and respecting local traffic regulations. Our most preferred way to film routes is from a car. The reason for this is because cars have a very good suspension system and tend to drive straight whereas on a bicycle you tend to have a snake-like movement as you pedal. Motorcycles are also used for filming with a special feature called horizon-lock which prevents the video from leaning from side to side.
What are the biggest challenges when you’re actually out on the road? Traffic, weather, roadworks, GPS issues, unexpected stops, etc.
All the factors combined together; weather, traffic, light, road closures, route directions, equipment status, tourists, construction vehicles, and many more.
How often do you have to re-film a section of road, and what typically causes you to do it?
We obviously try to mitigate this step but sometimes we need to re-film certain segments because the camera stops working for whatever reason. We have to decide whether that section can be corrected during processing or needs to be captured again.
Turning Footage into a ROUVY Route
Once you return with the footage, what happens next? Can you walk us through the process from raw video to a finished ROUVY route?
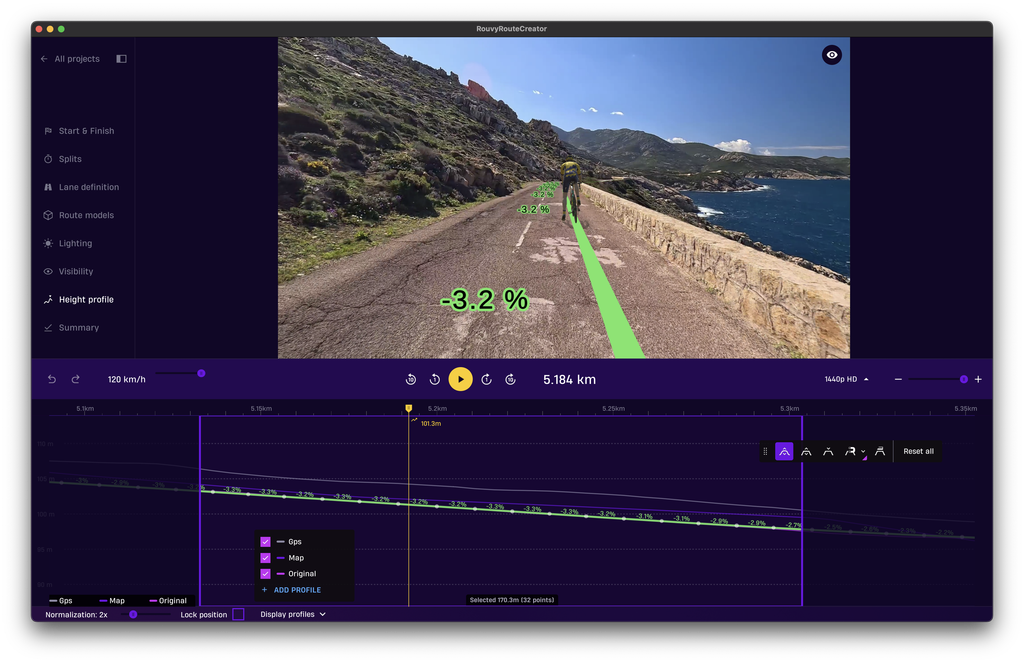
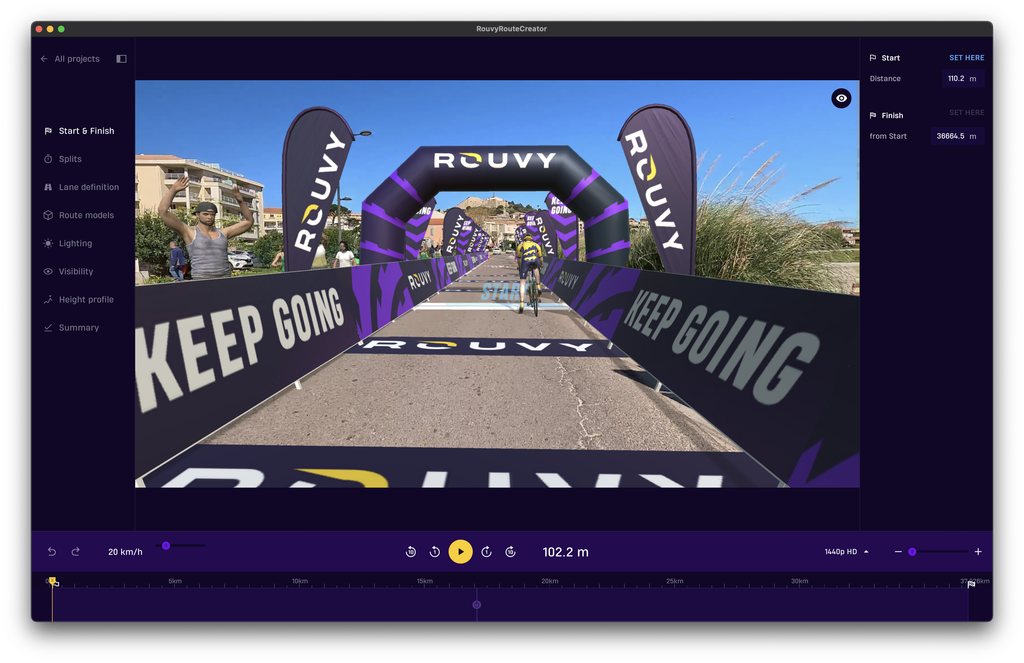
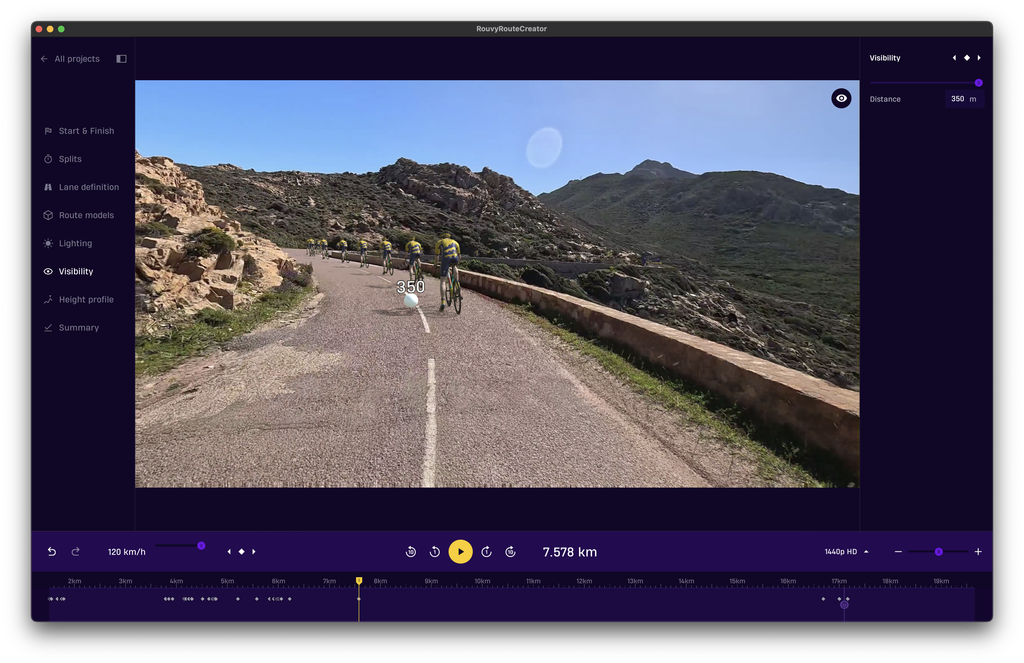
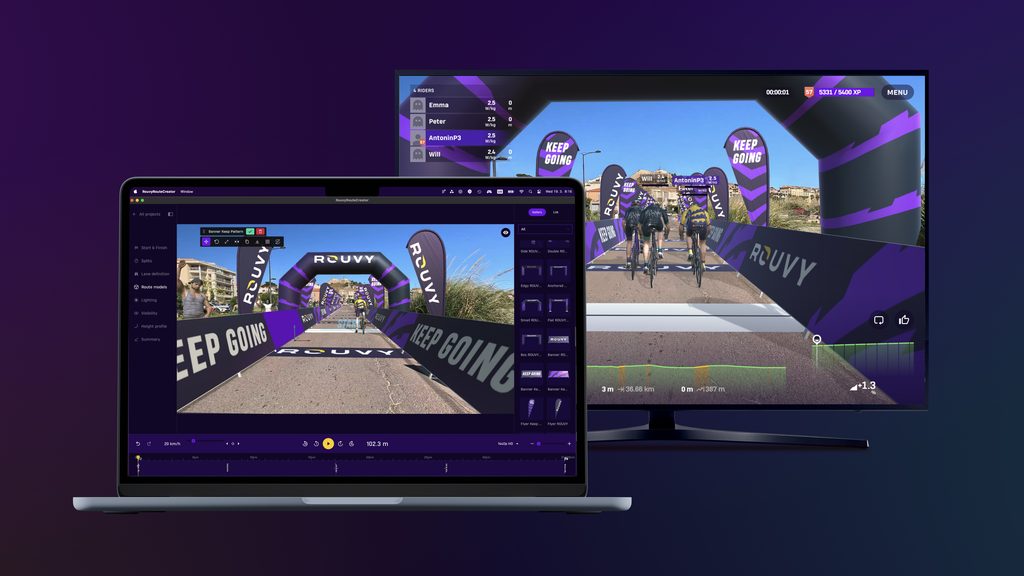
Once the filming is finished, we essentially have two key elements: the video itself and the data describing exactly where that video was recorded thanks to GPS data. Then, the magic happens in our ROUVY Route Creator. The videos need to be “tracked”; this process takes quite some time. It usually takes around two days of computer automated work for a route that is 20km long. Once this process is complete, we can start the digitization process which is composed of many important steps. These steps are not automated and need to be done manually. These steps for example include elevation profile, visibility, 3D objects, shadowing and others. When all these steps are done the route is ready for the final test. After it passes, we can release it to the ROUVY world.
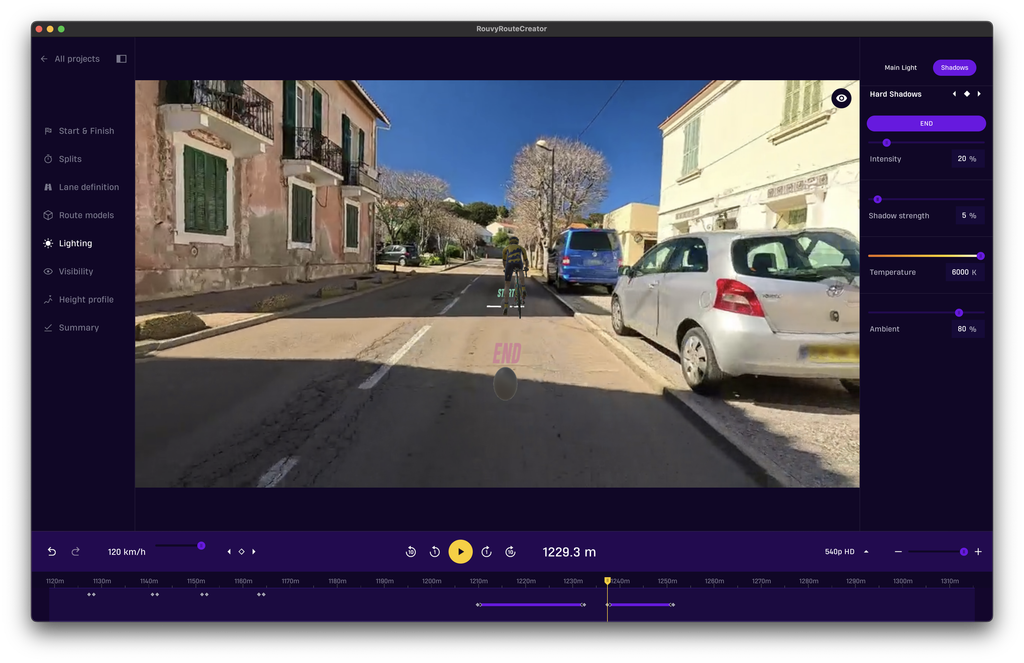
How is the GPS and elevation data combined with the video to make the route behave correctly for a rider?
The GPS data tells the system where the camera was along the route, while the elevation profile describes how the road climbs and descends. That information is synchronized with the video, so the system knows where you are at any given moment. When you’re riding on a compatible smart trainer, the gradient data can then be translated into changes in resistance.
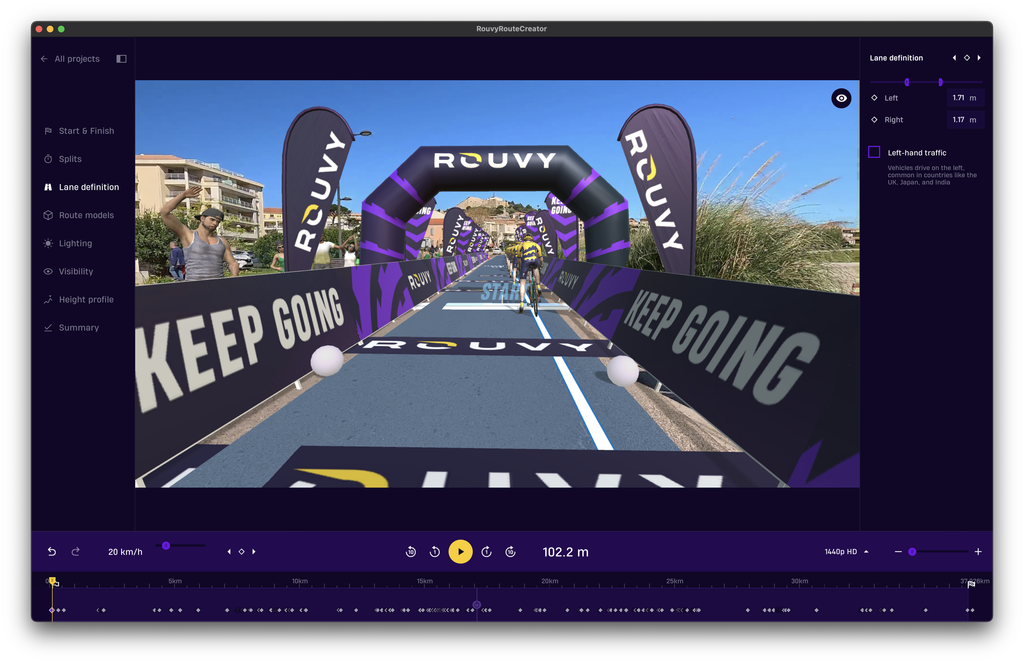
How much of the route creation process is automated, and how much requires someone to manually work on the footage and route?
Roughly 80% to 90% is manual work, 10% of the process is automated.
ROUVY adds 3D elements and other virtual features around the video. What is happening behind the scenes to create that experience?
This is where ROUVY becomes more than simply a cycling video. Every 3D model needs to be firstly created by the graphic designer as a 2D layout which can then be turned into a 3D model and must be then imported into the ROUVY Route Creator. When the 3D model is imported in RRC, it is possible to place it along the routes.
How do you handle the editing and processing of long routes? A route can contain hours of footage and a huge amount of data—what happens to all of that?
It is exactly the same process as for a short route creation; it just takes so much more time. So the challenge with long routes isn’t necessarily that we use a completely different process. It’s the scale of the work and the amount of time required to process, review and quality-check the whole experience.
Accuracy & Quality
How do you make sure that the gradient and other ride characteristics accurately represent the real road?
This is one of the most important parts of creating a route because the gradient directly affects what the rider feels on the smart trainer. As already demonstrated above, we use GPS devices to obtain relevant and accurate GPS data. We also have GPS data from the GoPro videos and we also use other route platforms such as Google Maps, Strava etc. to obtain even more variations of the elevation profile. In short, we always have numerous sources of the GPS information which we combine together to create the most accurate and realistic route.
What does the quality-control process look like before a route is released to ROUVY riders?
Every route needs to pass the test before it can be released. Every route is being controlled in the actual ROUVY app where we look for any inconsistencies along the route. It may contain incorrect elevation profile, low visibility of the 3D cycling avatars, inaccurate banner and gate placement and others.
Do members of the ROUVY team actually ride and test new routes before they are released? If so, what are they looking for?
We test it in the ROUVY app and are looking for incorrect elevation profile, low visibility of the 3D cycling avatars, inaccurate banner and gate placement and others.
What are some of the most difficult technical or logistical problems you’ve encountered while creating a route?
Usually routes in the cities where traffic is high are very problematic. At the same time, when the route is recorded from an older GoPro camera without GPS information we must then synchronize the GPS and video externally and this process brings many unexpected challenges.
What is the biggest misconception riders have about how much work goes into creating a ROUVY route?
We believe there is no misconception. After we released the ROUVY Route Creator to the public, anyone can create his/her own route which gives everyone much more of an idea about what needs to be done behind every route.
Final question
If you could take the reader behind the scenes of one particular ROUVY route and show them the entire journey—from choosing the road, through filming and processing, to the finished virtual ride—which route would you choose, and why?
I’d personally choose the route called “Going to the Sun” road from Montana because it is an iconic route and it was a challenge to film it. It is a 70km long route, in a very remote place with quite high traffic and very unpredictable weather conditions but we still nailed it.
Summing up
For me, what makes ROUVY particularly interesting is that it brings together two eras of indoor cycling. What began for me years ago with a Tacx trainer and real-world video footage has evolved into an incredibly sophisticated platform capable of transporting riders virtually to roads and destinations all over the world.
However, after speaking with Vojtěch Hudček, it’s clear that what appears to the rider as a simple video route is anything but. From selection and scouting to filming, GPS tracking, digitization, 3D modelling, quality control, and testing, creating a ROUVY route involves a considerable amount of work—much of it still performed manually.
The next time I load a ROUVY route, I suspect I’ll view it through a different lens. Rather than simply pressing start and beginning my ride, I’ll consider the people, technology, and meticulous attention to detail that went into bringing that road to my screen.
Perhaps this is the most remarkable aspect of indoor cycling’s evolution: the road may be virtual, but the experience—and the effort required to recreate it—is very real.

